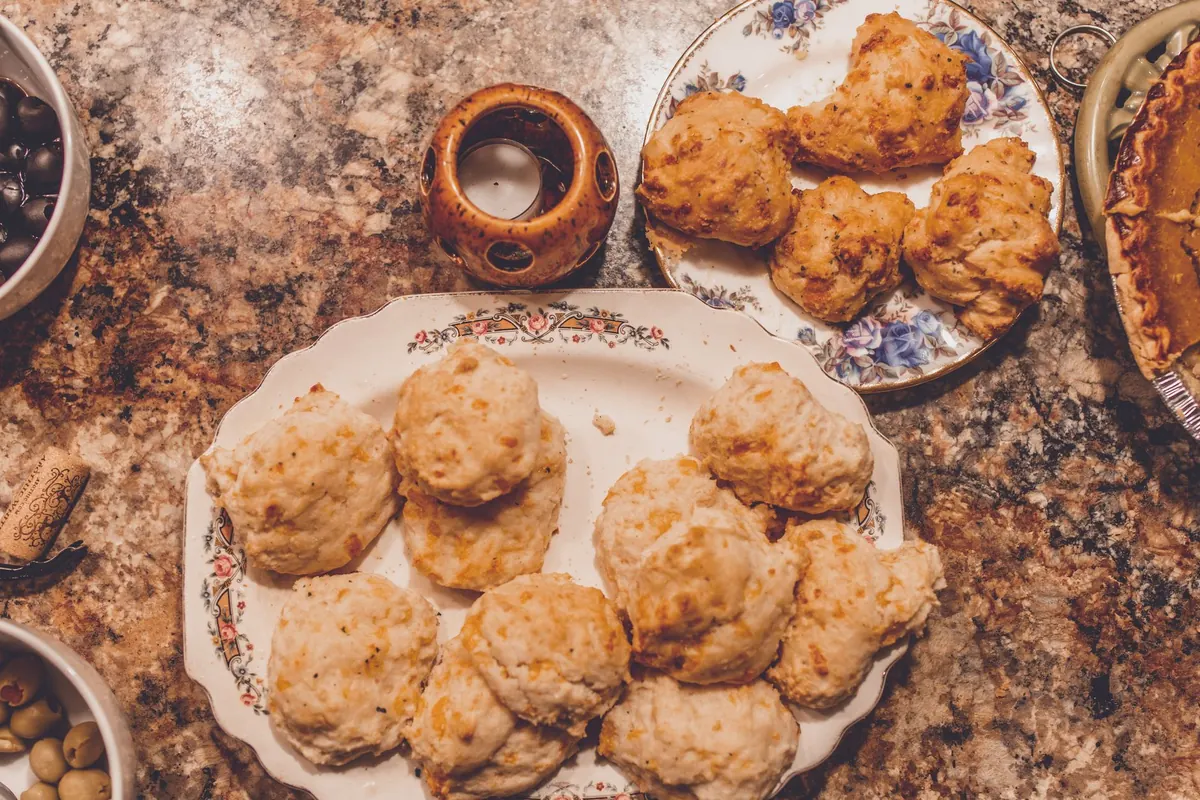
Most gluten-free scones fail for the same reason: the dough goes into the oven as a wet, heavy paste and comes out as a wet, heavy puck. It is not the fault of the flour. Gluten-free baking asks you to build structure in a different order, and once you understand which jobs the blend, the binder, and the resting time are each doing, scones that rise and split like proper scones stop feeling like luck.
Here is the whole approach in one sentence: use a blend with enough whole grain to hold shape, add one binder at the right dose, let the dough hydrate before it bakes, and get it into a hot oven while the butter is still cold.
Wheat dough has a stretchy protein net that traps gas. Gluten-free dough has no net, so lift has to come from four other places: starch gelatinizing into a set structure, egg proteins coagulating, chemical leaveners releasing gas, and steam pushing outward as the water in the dough turns to vapor.
That changes the stakes on every ingredient. Water is now both your friend and your enemy. Too little and the starches never set, so the scone crumbles. Too much and the crumb sets around all that water, giving you the gummy middle that gives gluten-free baking a bad name. Fat coats the flours and slows hydration, which is why cold butter matters more here than it does in wheat baking.
The most reliable homemade blends lean on whole-grain flours for body and starches for tenderness. A 60/40 split by weight is a sensible place to begin:
So a 500-gram batch might be 240 g brown rice flour, 60 g sorghum, 120 g tapioca starch, and 80 g potato starch. Mix it in a big jar and shake it before every scoop, because starches and flours settle at different rates.
Many supermarket blends already contain xanthan gum or another binder, often in amounts tuned for cakes and cookies. If yours does, do not add more binder from a recipe written for a plain blend. Read the ingredient list first, then adjust. And weigh your flour rather than scooping it: a cup of gluten-free blend can vary by 30 grams depending on how it was packed, which is easily the difference between a scone and a slab.
Binders replace some of what gluten did, holding the crumb together and slowing staling. Each one behaves differently, so pick one and learn it rather than stacking three.
Gluten-free flours are thirsty in a way wheat flour is not. Rice and oat flours in particular need time to absorb liquid, and gums need time to swell and actually do their job. Mix your dough, cover the bowl, and let it sit at room temperature for 20 to 30 minutes. If you are using psyllium, give it at least 15 minutes. If you have the time, an hour in the fridge is better still, and overnight works for many blends.
You will notice the change immediately. The dough firms up, stops feeling gritty, and holds a shape instead of slumping. That firmness is what lets the scones rise upward in the oven instead of outward across the tray.
Cold fat, hot oven, gentle handling. Those three, in that order, do most of the work.
Let them cool for 10 minutes on the tray before moving them. Gluten-free scones are fragile while hot; they firm up considerably as they cool.
Weigh 250 grams of your blend. Whisk in 2 teaspoons baking powder, 1/2 teaspoon salt, 2 tablespoons sugar, and 1/2 teaspoon psyllium husk. Grate in 70 grams of frozen butter and toss to coat. Stir in 1 egg and about 120 ml cold buttermilk until a shaggy dough forms, then stop. Rest 20 minutes, pat into a round, cut six wedges, chill 15 minutes. Bake at 200°C (400°F) for 18 to 22 minutes.
Write down the blend, the binder amount, and the resting time you used. Gluten-free baking rewards a record more than it rewards intuition, and three batches from now you will have a formula that is genuinely yours.
Photo: Craig Adderley / Pexels

Adapt any scone recipe to seasonal fruit and herbs by adjusting liquid, sugar, and technique — with pairing ideas, a...

A savory scone formula built on sharp cheddar, chives, and black pepper, plus a mix-in ratio for building your own...

Freeze shaped scone dough and bake it straight from the freezer for a taller, flakier rise. Here is how to wrap,...

Cozy scones and quiet moments..
