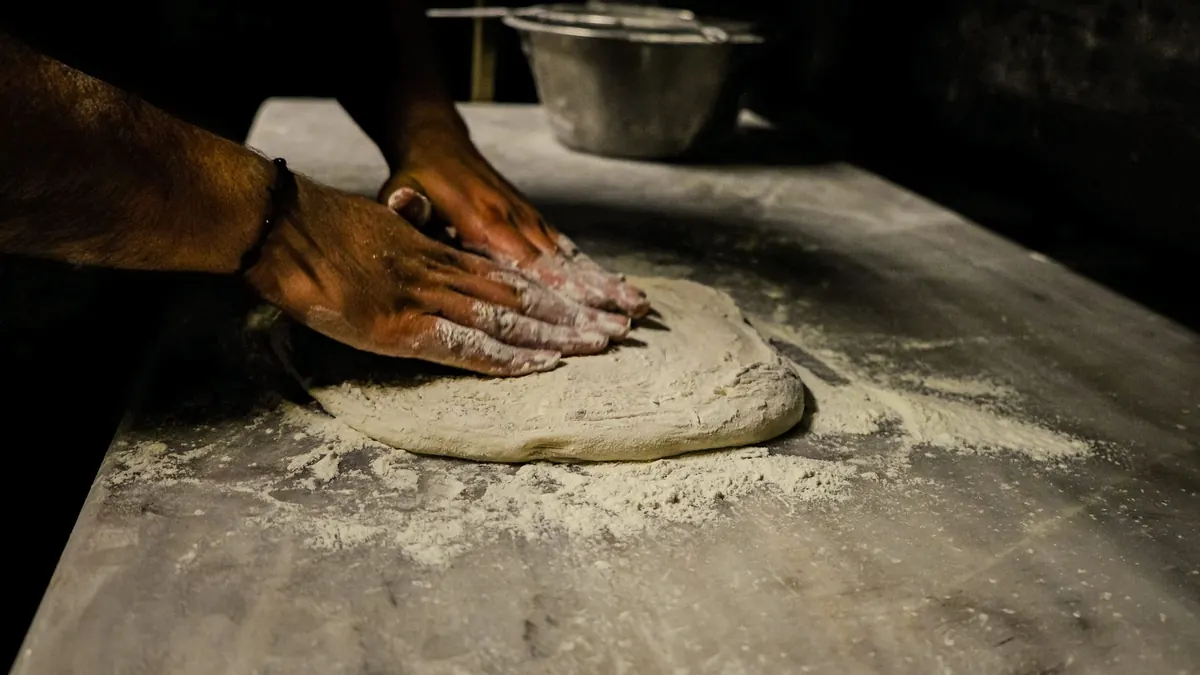
You followed the recipe. The butter was cold, the oven was preheating, and everything went into the bowl in the right order. Now the dough is welded to your fingers, and cutting neat triangles feels like a joke. Sticky scone dough is the most common problem beginners hit, and it is almost always fixable — usually in less than ten minutes.
Scones live on a narrow line between crumbly and wet. Too little liquid and the dough never comes together, baking up sandy and dry. Too much and it spreads into flat puddles, losing the flaky layers that make a scone worth eating. The gap between those outcomes can be two tablespoons of cream. Knowing which lever to pull is most of the skill.
Flour absorbs water differently from bag to bag and brand to brand. It also measures differently depending on how you fill the cup. A cup of all-purpose flour scooped straight from the bag and leveled can weigh close to 150 grams. The same cup, spooned in lightly and swept level with a knife, weighs closer to 120. That is roughly a 25 percent difference in your dry ingredients — enough to turn a workable dough into paste.
If you bake by volume, spoon the flour into the cup and level it. Don't pack it, don't tap the cup on the counter, and don't dip the measuring cup into the bag. Better still, use a scale: for most all-purpose flours, one cup is about 120 to 125 grams. If your dough runs sticky more often than not, weigh your flour once to find out which kind of baker you've been.
Cold butter is what gives scones their flake. Chunks of it melt in the oven, release steam, and push the layers apart. But cold butter only helps if it stays cold while you work. In a warm kitchen, or with warm hands, the butter softens as you rub it in, coating the flour in fat instead of leaving distinct pieces. The dough feels greasy, wets easily, and turns sticky fast.
Three habits help:
If the butter starts to smear, put the bowl in the fridge for ten minutes and come back. That isn't a setback. It's a reset.
Most scone recipes are written for a dough that is barely damp. If yours calls for three-quarters of a cup of cream, start with two-thirds, drizzling it in while you toss with a fork. Then stop and wait two or three minutes. Flour needs time to absorb liquid, and dough that looks dry at thirty seconds often looks right at three minutes. Add the rest a tablespoon at a time, only if it's needed.
Heavy cream coats flour slowly. Buttermilk and milk soak in faster, and a recipe with an egg will be wetter still. Swap one for another and expect to adjust. Watch your add-ins too: grated apple, mashed banana, frozen berries, and shredded zucchini all release water as they sit. Toss frozen berries in a spoonful of flour first, and pat fresh fruit dry.
Flour stored in a humid kitchen holds more moisture than flour in a dry one, so a rainy July day can call for two to four tablespoons less liquid than the same recipe in February. Dough also warms as you handle it, and warm dough is sticky dough by definition. If the air is heavy and your butter is soft, chill the flour for 15 minutes before you start and keep your bowl and tools in the fridge until the moment you need them. Cold equipment slows everything down in your favor.
Don't dump in a handful of flour and hope. Work through these steps in order:
Scone dough should look shaggy and slightly tacky. It should hold together when you squeeze a handful, then break apart when you poke it. Dry streaks of flour are fine — they hydrate while the dough rests. What you don't want is dough that stretches like taffy or sticks to a clean finger. That dough is too wet and needs one of the fixes above. If it crumbles instead, you've gone too far the other way; a tablespoon of cream folded in gently will bring it back.
Write down what you actually did: the flour brand, whether you weighed or spooned, how much liquid went in, and what the weather was doing. Two or three batches of notes will teach you more about your kitchen than any recipe can.
Sticky dough isn't a failure. It's feedback.
Change one variable at a time, and by the third batch you'll be shaping scones by feel while the kettle heats.

Adapt any scone recipe to seasonal fruit and herbs by adjusting liquid, sugar, and technique — with pairing ideas, a...

A savory scone formula built on sharp cheddar, chives, and black pepper, plus a mix-in ratio for building your own...

Freeze shaped scone dough and bake it straight from the freezer for a taller, flakier rise. Here is how to wrap,...


Cozy scones and quiet moments..
