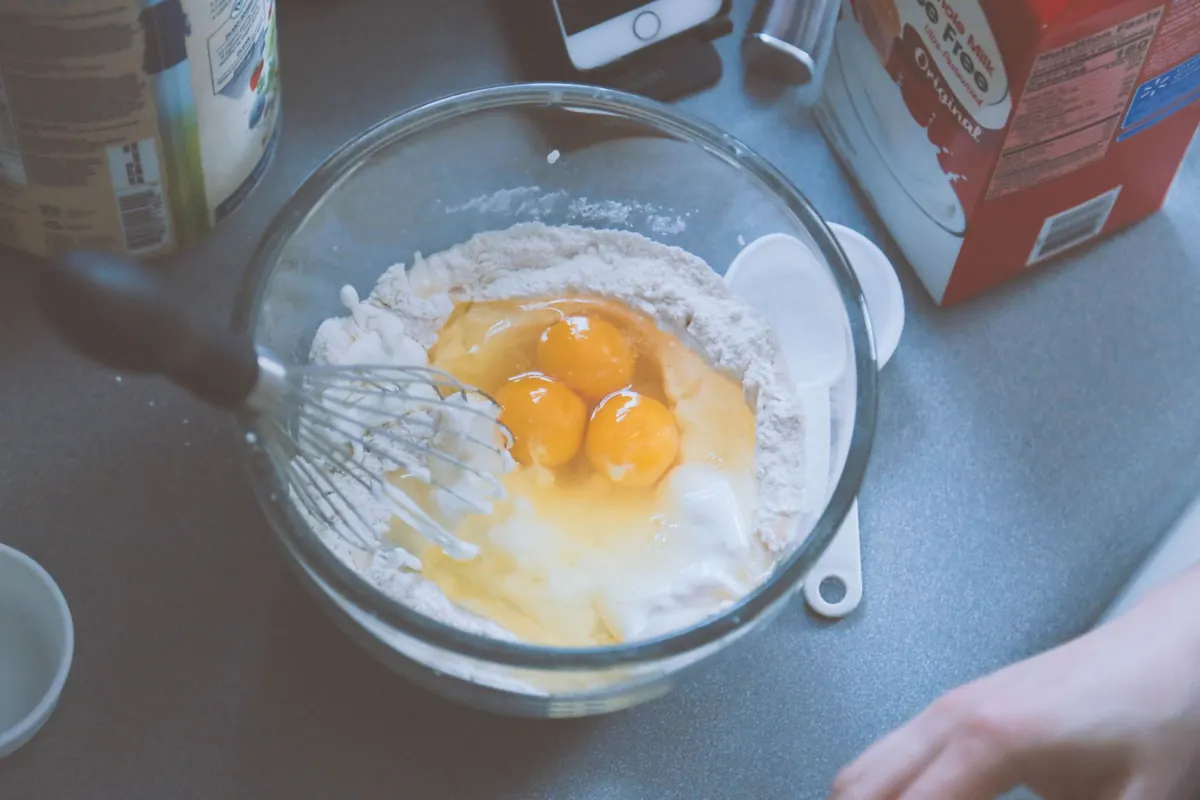
Most scone recipes open the same way. Turn the dough onto a floured counter, roll it to an even thickness, stamp out rounds, gather the scraps, and roll again. It works, and thousands of good bakers do it every weekend. But it asks you to handle the dough far more than a scone really wants, and each pass of the rolling pin warms the butter and presses out the little pockets of steam that make a scone rise and shatter.
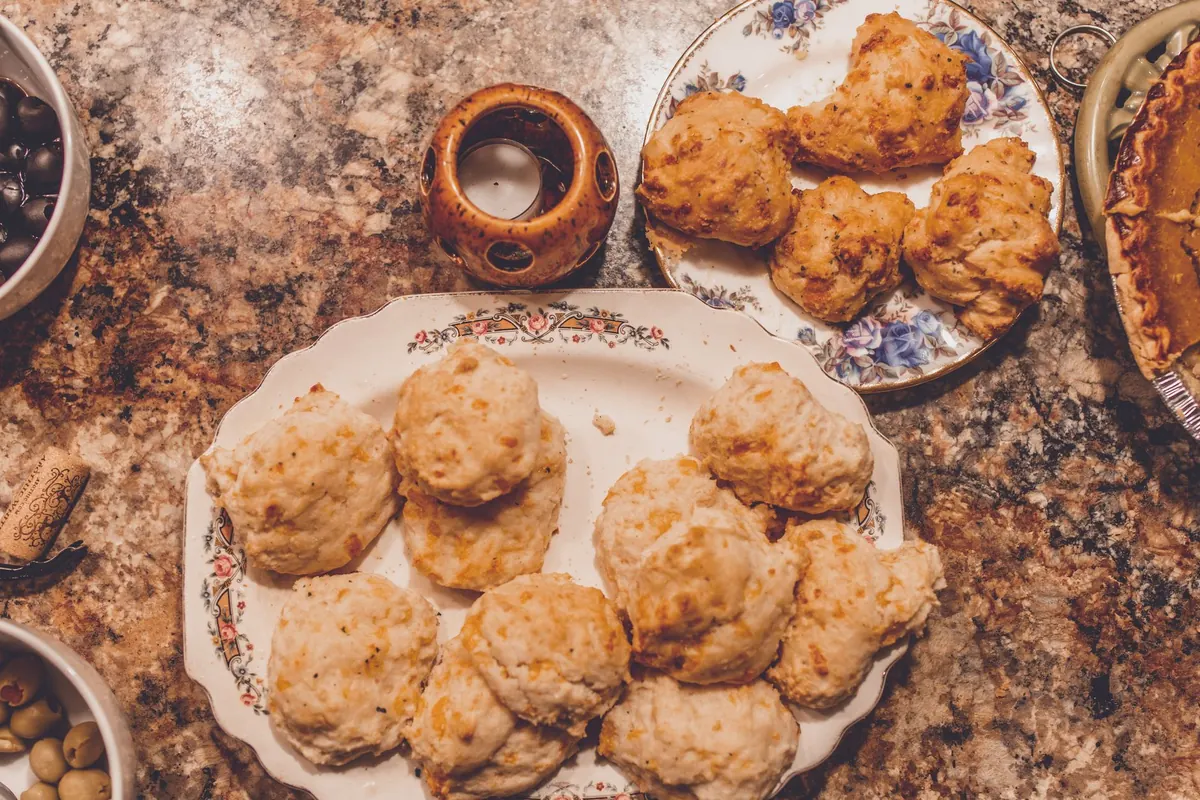
Drop scones skip all of that. You scoop the dough straight from the bowl and let it fall onto the baking sheet, and what lands there is tall, craggy, and slightly irregular. The only real problem is size. Rolled and cut scones are uniform by default; dropped ones are uniform only if you build a small system into your scooping. That system comes down to three things: one scoop, one level, one clean release.
A rolling pin compresses dough. It flattens the butter into thin sheets, which sounds good until you realize that scones want those butter pieces to stay distinct so they create flakes rather than a uniform, sandy crumb. Dropping skips the compression entirely. The dough goes from bowl to pan with almost no handling, which means the butter stays cold and the gluten stays lazy.
There is a practical benefit too. Rerolled scraps are always the toughest scones on the tray, and the drop method produces no scraps at all. Every bit of dough becomes one scone. The craggy tops also give a glaze or a scatter of coarse sugar something to cling to, which is more than a smooth, rolled top can offer.
The method only works if the dough cooperates. Too dry and it crumbles off the scoop in pieces. Too wet and it spreads into flat puddles the moment it hits the pan. You want something that holds a soft shape and slumps slowly when you lift it.
Sticky but cohesive, like a stiff cookie dough or a very thick muffin batter. When you pull the scoop out of the bowl, the dough should briefly hold a soft peak and then lean over rather than collapse. If it pours, add flour a tablespoon at a time. If it crumbles before you even scoop, add buttermilk or cream a teaspoon at a time.
Freeze your butter for fifteen minutes, then grate it on the large holes of a box grater, or cut it into small cubes and toss them with the dry ingredients. Rub it in with your fingertips or a pastry blender until you have a mix of pea-sized pieces and flat flakes. Some visible butter is the goal, not a perfectly even meal.
Fifteen to thirty minutes in the refrigerator firms the dough and limits spreading. This is the single easiest upgrade to a dropped scone, and it costs you nothing but patience while the oven heats.
Consistent size is not about looks. It is about baking. A tray of scones ranging from golf ball to tennis ball will give you pale centers next to dark edges, and you will end up pulling the pan early for some and late for others.
The simplest fix is a scale. Weigh your first scoop, write the number on your recipe card, and match it for the rest of the batch. If you would rather not weigh, count your scoops out loud and use the same fill each time, then check the pan before it goes in the oven. Any scone noticeably smaller than its neighbors can be nudged closer to the center of the tray.
If your scones are spreading, the dough is warm. If they are cracking open at the base, the dough is too dry. Both problems are fixed before the pan goes in the oven.
Dropped scones are forgiving, but a few things go wrong often enough to be worth naming.
Brush the tops with cream or beaten egg for a glossy finish, or skip it and dust with coarse sugar for a crunchier crust. Fold add-ins such as chocolate chunks, chopped dried fruit, or citrus zest into the dough before chilling, not after scooping, so the pieces stay evenly distributed from scone to scone.
Scooped dough freezes well. Drop the portions onto a parchment-lined sheet, freeze until solid, then transfer them to a bag. Bake from frozen, adding a few minutes to the usual time and keeping an eye on the first batch to judge the difference.
Fresh scones are best the day they are made, but a day-old one split and toasted under a broiler, with butter and jam, is a fine argument for baking a double batch.
Write down three things after your first attempt: the weight of one scoop, the oven temperature, and the exact minutes it took to reach the color you liked. Those three numbers turn a lucky tray into a reliable one. The next time you bake, you will not be guessing whether the dough looks right or whether the pan is ready.
Keep the scoop in the flour canister or in the drawer with your measuring cups, where you will reach for it without thinking. Drop scones reward repetition more than technique. By the third batch, your hands will know what a level scoop feels like, and you will have a tray of evenly sized, craggy-topped scones cooling on the counter without a rolling pin in sight.
Photo: Craig Adderley / Pexels

Adapt any scone recipe to seasonal fruit and herbs by adjusting liquid, sugar, and technique — with pairing ideas, a...

A savory scone formula built on sharp cheddar, chives, and black pepper, plus a mix-in ratio for building your own...

Freeze shaped scone dough and bake it straight from the freezer for a taller, flakier rise. Here is how to wrap,...

Cozy scones and quiet moments..
